 |
| Company: Profile Field- Added Display Settings For Staff Contact Info |
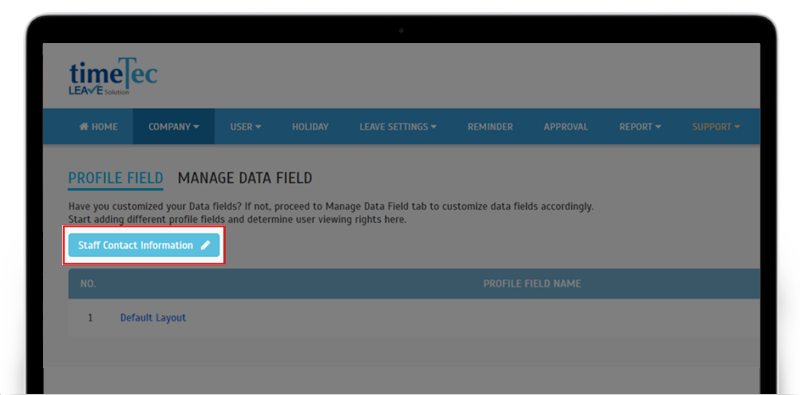
| This July, we’ve introduced a new function called Staff Contact Information Display Settings. If you ever wanted to change or customise the information shared with all employees in their Staff Contact module, this is for you. Previously, the system uses a standard template for all subscribers but with this current update, users will be able to choose up to a maximum of ten relevant data fields from users’ profiles (Personal Information section) to suit the company’s preference. Additionally, sequence arrangement can likewise be done by the users. Go to Company > Profile Field > Click on ‘Staff Contact Information’ button to access the settings window. Please refer to the screenshots below for more details: |
| a. Staff Contact Information Settings button In Profile Field |
 |
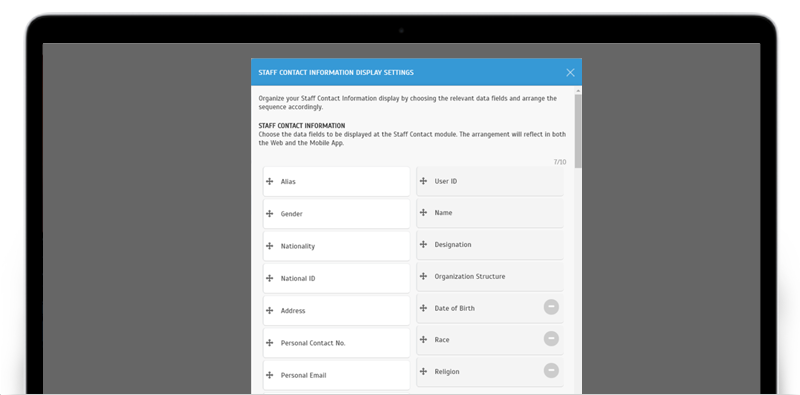
| b. Display Settings- Drag to the right column to display it in Staff Contact |
 |
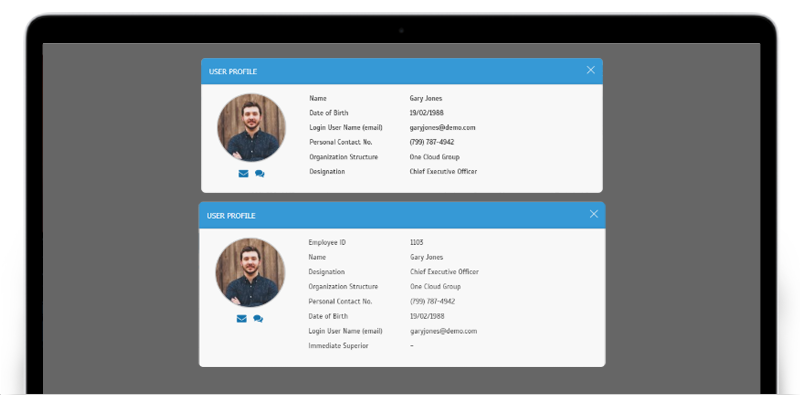
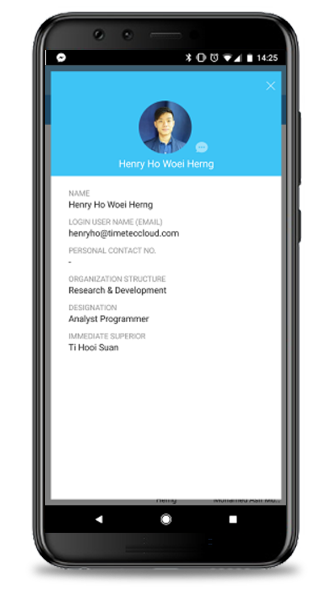
| c. Staff Contact View |
 |
 |
| d. “Edit Staff Contact Display” In System Role |
 |
| New Feature Release: Replacement Leave |
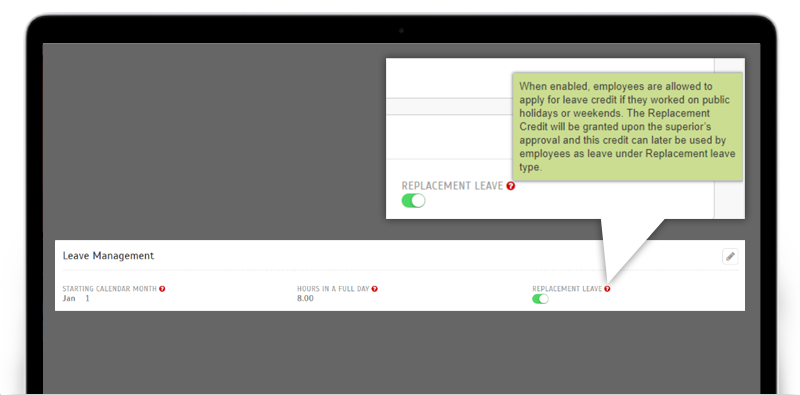
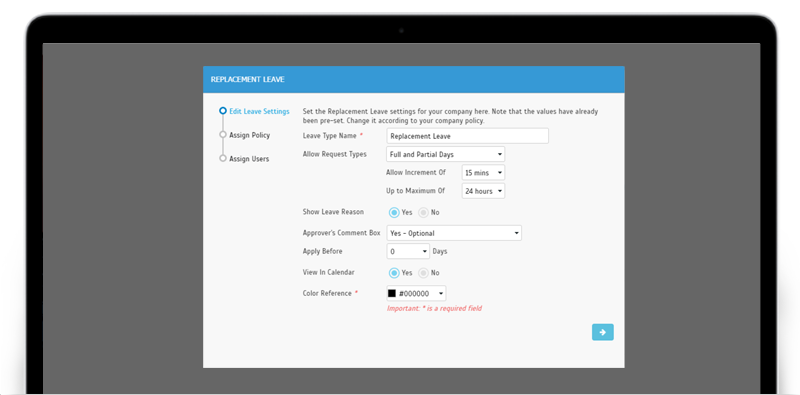
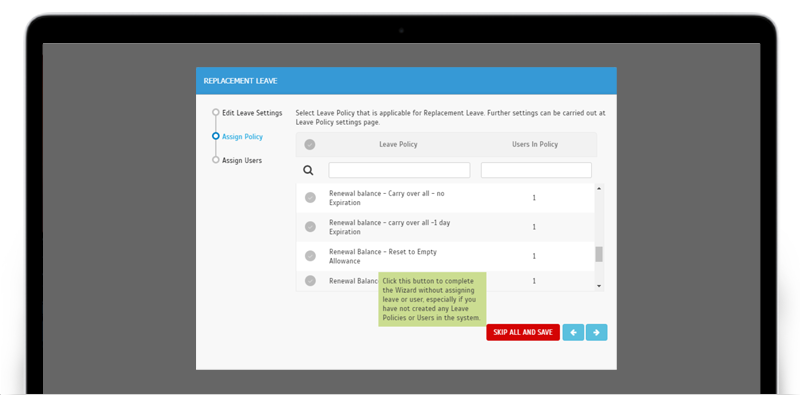
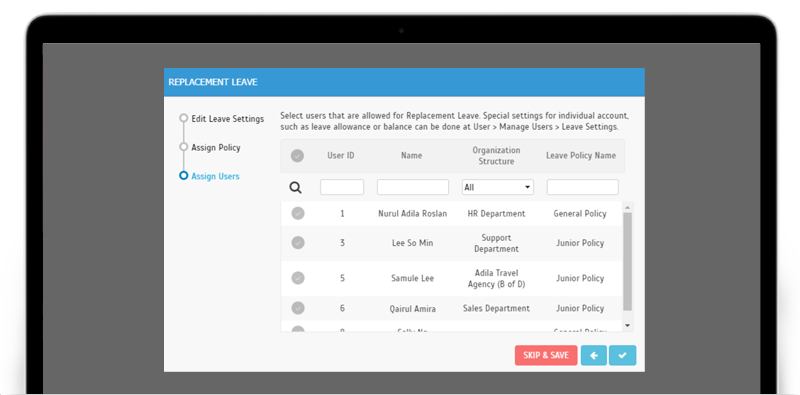
| We’re also very excited to share with you about the brand new Replacement Leave feature that just went live in July! Companies can now allow staffs to apply for replacement leave credits whenever they have to work on public holidays and weekends in order to ensure the best working conditions. This is sometimes known as “Paid Time Off in Lieu” and this means that instead of overtime pay, their staffs can be compensated with additional rest days to make up for the busy peaks. This flexible option also helps to balance the budgetary concerns arising from the nature of a company’s business operations. In the system, Replacement Leave will function as stated below: i. Enable this option in System Settings - Replacement Leave allows users to apply for replacement credit whenever they work after standard hours (in accordance with individual employment contract). By default, this option is turned off and can be enabled or disabled later. ii. After enabling this option, Replacement Leave Wizard will pop-up and users will need to follow the instructions in the Wizard to configure the required Leave Settings > Assign to the relevant Leave Policy and Users (or you can skip for now and do this at Leave Settings > Leave Policy later). iii. Replacement Credit module will now be displayed in the Menu (for assigned users who are entitled to this leave and their approvers). iv. User: To apply for Replacement Credit > Go to Replacement Credit > Application tab > Click ‘Apply’ button > Fill in the form > Submit. v. Approver: To approve Replacement Credit > Go to Replacement Credit > Approval tab > Edit > Click button to ‘Approve Request’/ ‘Reject Request’. vi. Once approved, the Replacement Credit will be added to the user’s Replacement Leave balance. Users can then apply for Replacement Leave in the system through the usual leave application procedures. Please note that Users and Approvers can also perform step (iv) to step (vi) above through the mobile application. For more details of what’s available with this feature, please refer to the screenshots below: |
| a. System Settings – Enable Replacement Leave Option (Disabled by default) |
 |
| b. After enabling the option- Replacement Leave Wizard Step 1: |
 |
| Step 2: Assign Policy – Assign Replacement Leave to Leave Policy (can be Skipped) |
 |
| Step 3.1: Assign Users – Assign Replacement Leave to Users (can be Skipped) |
 |
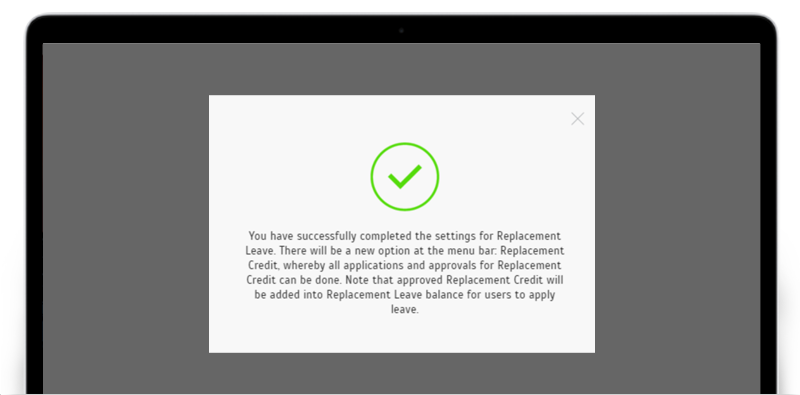
| Step 3.2: Success Message after completing Replacement Leave Wizard |
 |
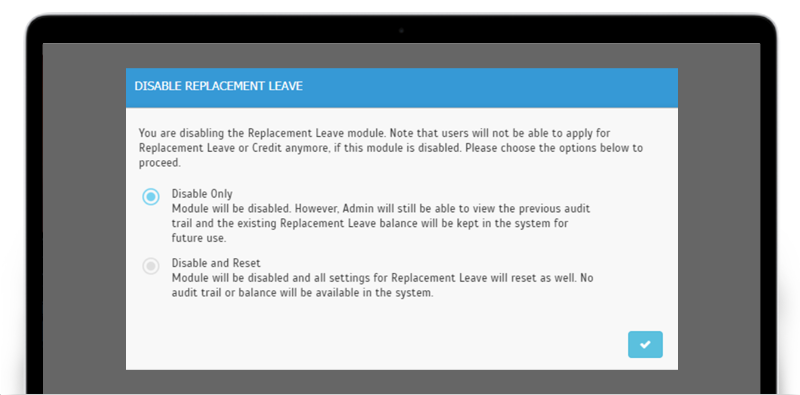
| c. Disable Replacement Leave Settings after disabling Replacement Leave |
 |
| d. Menu: Replacement Credit Module i. Admin View |
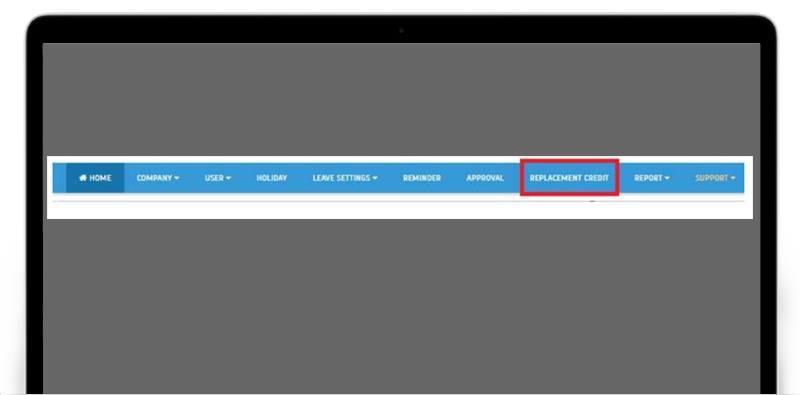 |
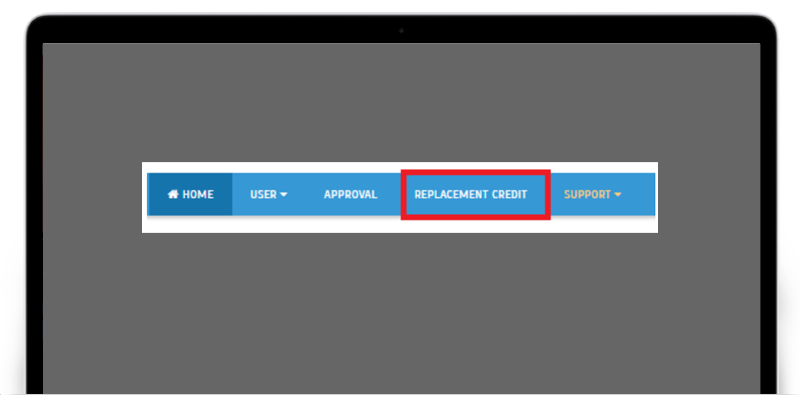
| ii. User View |
 |
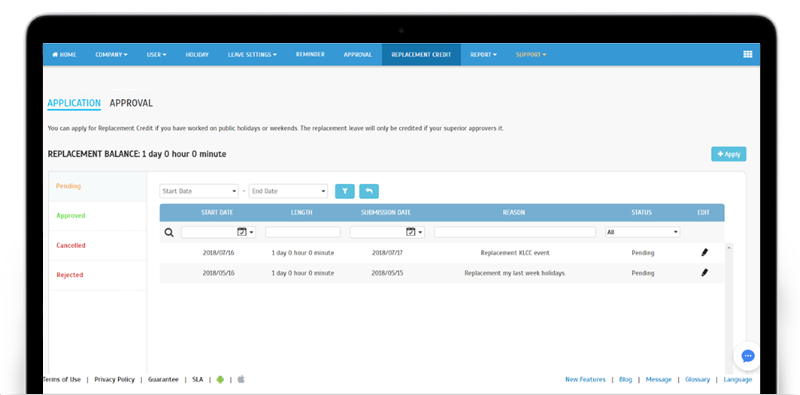
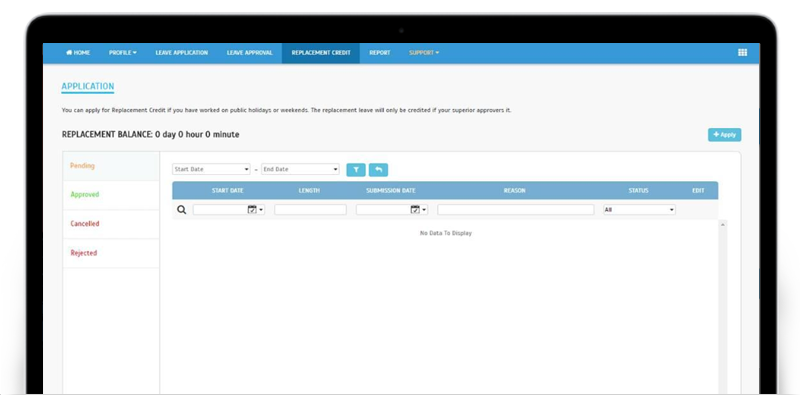
| e. Replacement Credit Application i. Application Tab- Users can now view replacement balance, apply for credit and view application status |
| Admin / Approver View |
 |
| User View |
 |
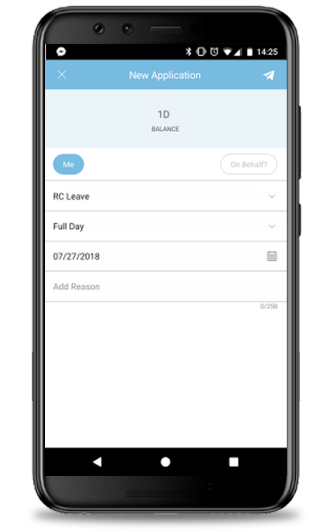
| ii. Application- Full Day (Example below) / Partial Day/ Multiple Days/ Admins apply on behalf |
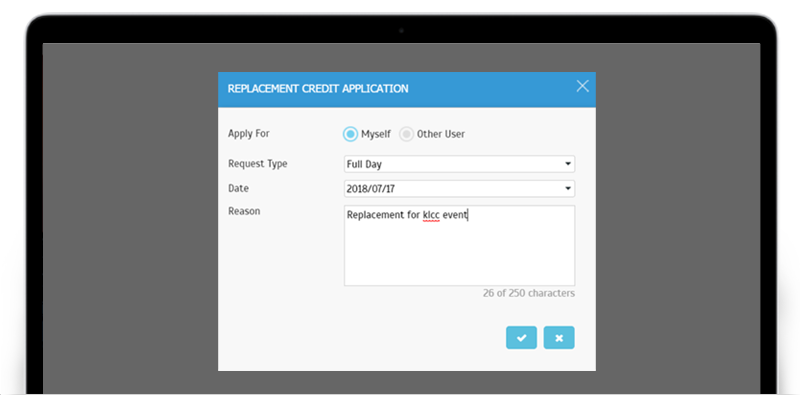 |
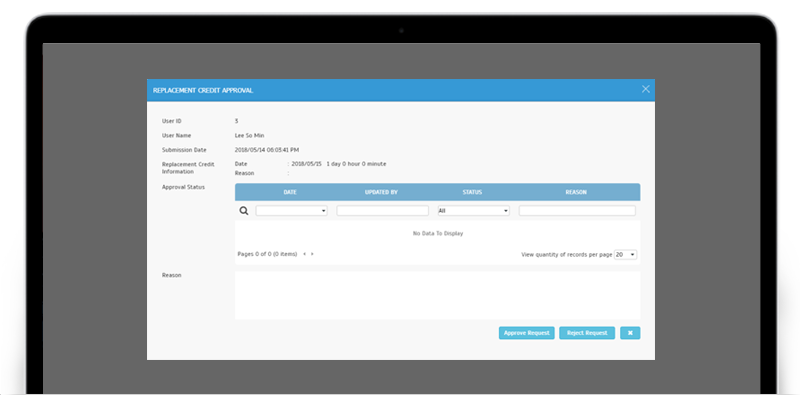
| f. Replacement Credit Approval i. Approval Tab - Approvers are now able to manage users’ application |
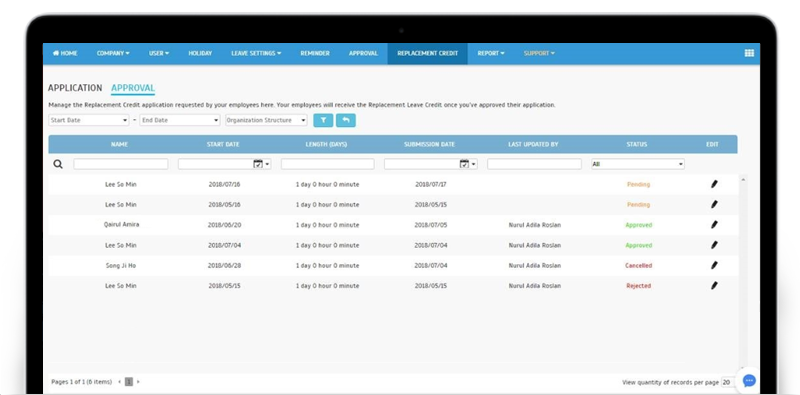 |
| ii. Application Pending – Approve Request / Reject Request |
 |
| g. Replacement Leave Application |
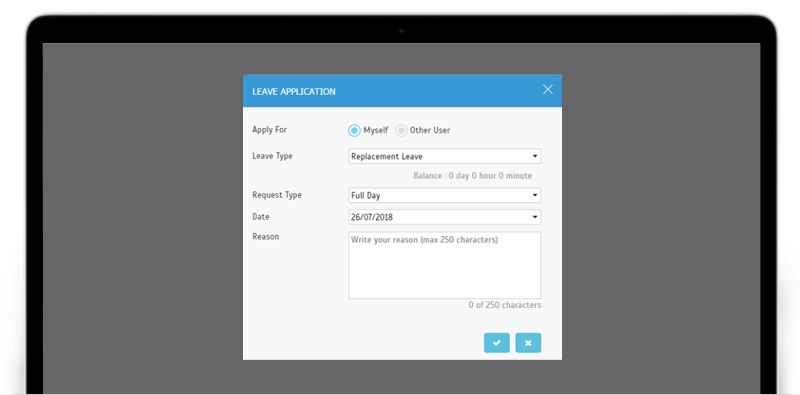 |
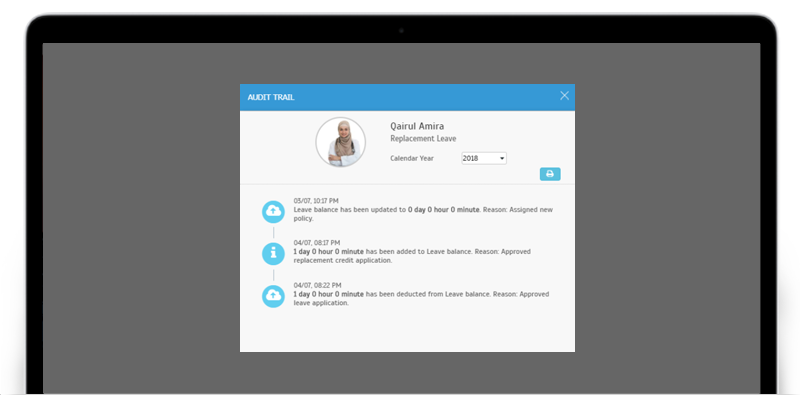
| h. User’s Audit Trail |
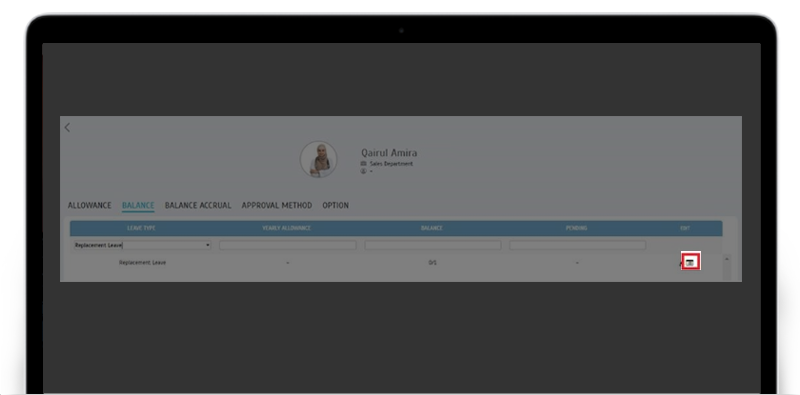 |
 |
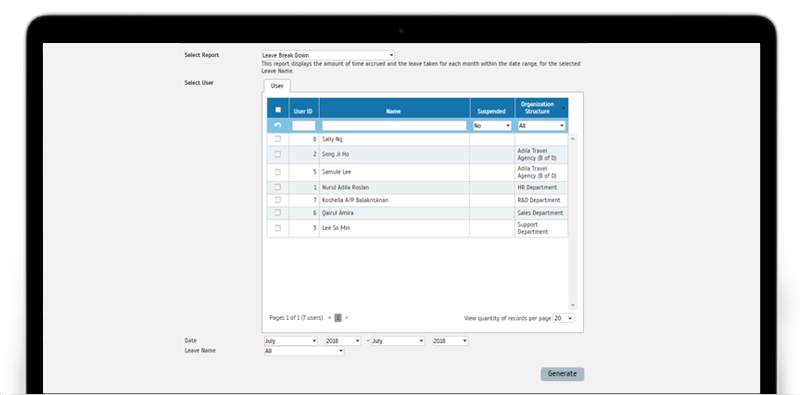
| New Report - Leave Breakdown |
| Next up, we’ve also recently introduced a new report known as the ‘Leave Breakdown’. This report will display the amount of time accrued and the leave taken for each month within a chosen date range, for the selected user(s) and type(s) of leave. a. Leave Breakdown Selection Page |
 |
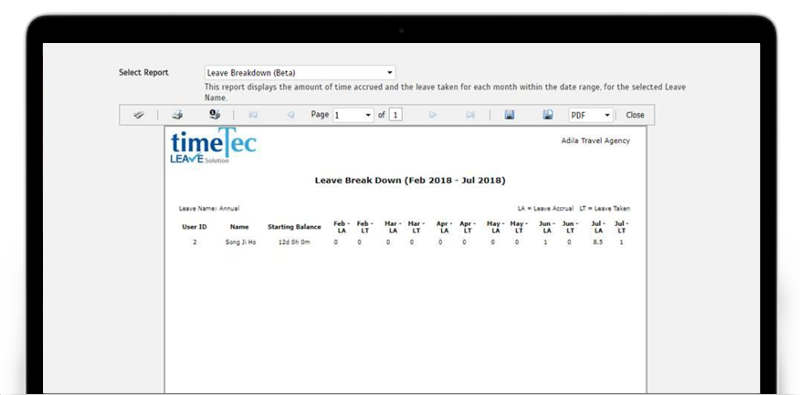
| b. Leave Breakdown Report |
 |
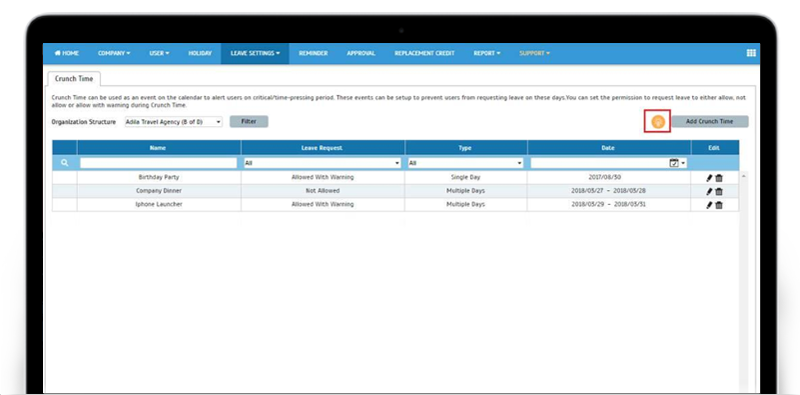
| Added tips for Crunch Time |
| TimeTec Leave has a feature that allows Admin to schedule Crunch Time in the calendar and this can be used to systematically alert users of critical periods or even block user's leave applications. For users who are interested in exploring this feature more, check out the new link for Tips on this page. |
 |
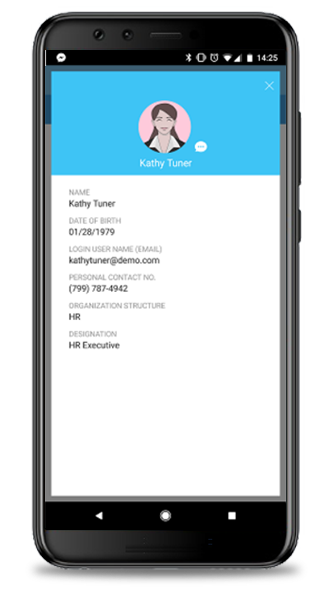
| TimeTec Leave App Update |
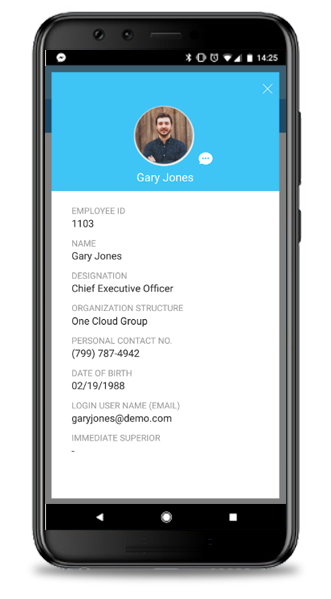
| Staff Contact New UI and information fields displayed will be based on Staff Contact Settings in Web. |
  |
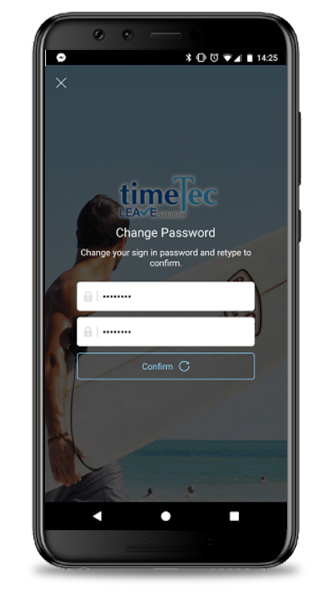
| General Speed optimization to access App via push notification. Added Change Password feature for first time login. |
 |
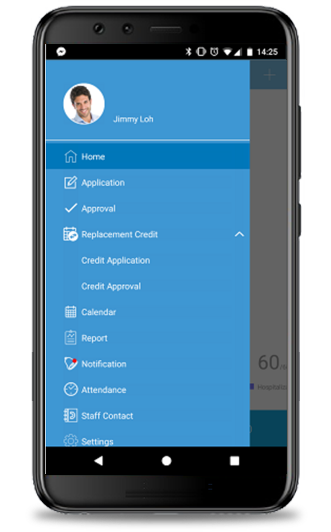
| New Feature: Replacement Leave As mentioned in the web features section above, if Admin enables a new Replacement Leave option in System Settings, assigned Users (and their Approvers) will thus be able to see a Replacement Credit module in their Menu. This is available on the Mobile App as well as the Web application. Please refer to the section above for more explanation on this new feature. Side Menu |
 |
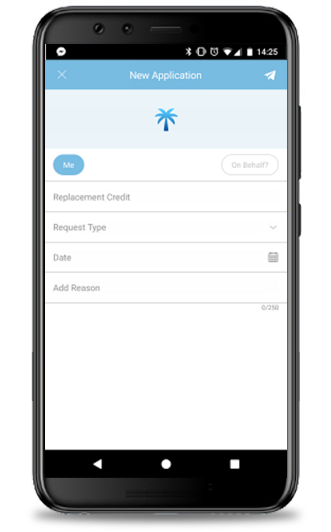
| Credit Application |
 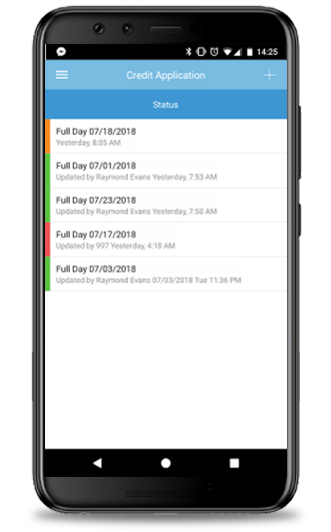 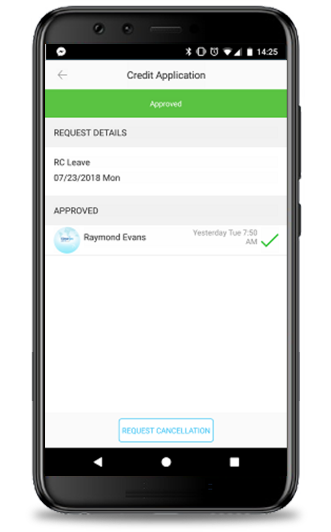 |
| Credit Approval |
 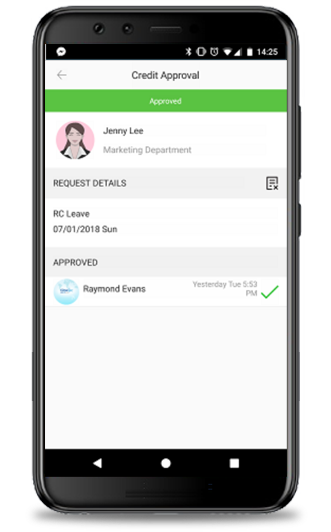 |
| Notification |
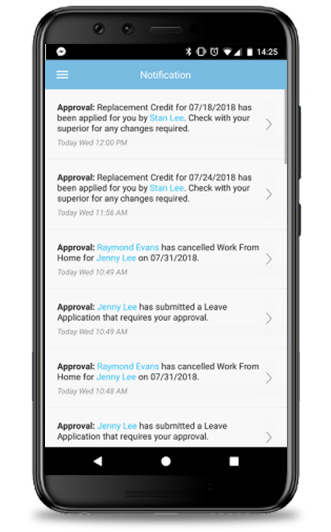 |
| Leave Application Via Replacement Credit |
 |
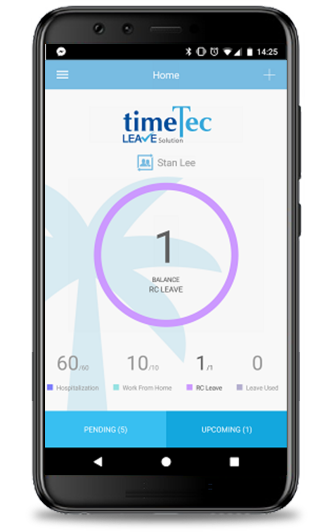
| Home |
 |
| Previous Issue: June 2018 • May 2018 • April 2018 |
| Note: If some of the screenshots or steps viewed here are different from the ones in the current system, this is due to our continuous effort to improve our system from time to time. Please notify us at info@timeteccloud.com, we will update it as soon as possible. |